
A Look Inside Ian Fennellys Online Urban Sketching Tutorials
Everything is easier when you break it down into smaller steps and online urban sketching classes are no different!
In this article, we discover Ian Fennelly’s teaching method for creating urban sketches and find out why each stage is equally important.
Urban sketching is more than just drawing; it’s a layered process that builds from basic shapes to detailed, colourful scenes. Here’s how Ian approaches each stage of the sketch:
Planning Stage
Ian often selects locations teeming with detail and character. He seeks out scenes that present not just architectural interest but also a strong sense of atmosphere and place, ranging from lively urban corners to serene, historical alleys, or even picturesque rural settings.
Before visiting a location, Ian conducts online research to familiarise himself with notable landmarks, scenic spots, and unique, lesser-known areas of interest.
Upon arriving, he spends considerable time walking and observing his surroundings to choose a specific view that resonates with him both emotionally and visually.
Once a scene captures his interest, Ian thoughtfully considers its composition. He plans how to arrange the elements on his page to achieve a harmonious and captivating layout, often creating a dynamic balance between detailed architectural features and broader, more abstract areas.
Ian consistently selects perspectives that amplify the depth and scale of buildings or other subjects, drawing the viewer’s eye through the scene in compelling ways.
Ultimately, Ian chooses scenes that evoke a personal connection for him. Whether capturing the vibrant life of a city or the peaceful allure of the countryside, his selections are driven by a desire to encapsulate the emotional depth and narrative of a place.
Ian Fennelly in The Rural Sketch Course discussing scene selection.
Pre-Sketch Stage
Before deciding on which scenes to include in his online courses, Ian normally works on a pre-sketch. These preliminary drawings allow him to understand how we will teach the courses, but they also help him to experiment with composition and layout, ensuring a visually appealing balance in the finished sketch.
They also help him understand the interplay of light and shadow, which is vital for creating depth and setting the mood of the artwork.
Pre-sketches also enable Ian to explore colour choices, explore light and shadow, and address technical issues related to perspective and proportion early on. Additionally, these sketches allow him to develop a visual narrative and build an emotional connection with the scene, enhancing the storytelling aspect of his work.
Step 1: Initial Sketch
The first step in Ian’s sketching process involves grasping the overall scene. This is about laying down the basic structure and composition of the sketch. Using either a pencil or Tombow brush pen (fine liner part), Ian starts to outline the major elements. This stage sets the foundation for his artistic creation, focusing on the broad strokes that define the structure of his scene.Step 2: Big Shapes
Once the outline is set, it’s time to revisit the scene and enrich it with details. This involves using a permanent line maker to go over the initial sketch. This step allows Ian to define the scene more precisely and start bringing your sketch to life with added complexity and specificity.Step 3: Watercolour
During this stage of the process, Ian meticulously experiments with a palette of hues, exploring combinations that not only harmonise but also enhance and contrast with each other.
His selection of abstract colours alongside neutral colours is intentional and thoughtful. By carefully choosing shades that resonate with the scene’s essence, Ian ensures that his sketches do more than depict a place; they capture its spirit and emotional landscape, allowing the viewer to experience the location as vividly as if they were standing there themselves. This exploration of colour is a crucial step in his artistic method, one that adds depth and richness to the final piece.
Step 4: Tone
Using the Tombow brush pens, this phase involves adding tones to the sketch. Ian carefully selects a range of shades from the Tombow palette, starting with lighter tones to build a foundation. He gradually layers darker shades, paying close attention to the direction of light and the resulting shadows. This meticulous process enhances the depth and gives the sketch a three-dimensional feel.
It’s about understanding light, shadow, and the subtleties of tonal variations which are crucial for bringing your sketches to life. Ian demonstrates how to observe the interplay between light and surfaces, noting where the light hits most intensely and where it gently fades. He emphasizes the importance of smooth transitions between tones to avoid harsh lines, ensuring a more natural and realistic appearance.
Ian uses the flexible brush tips of the Tombow pens to create varied stroke widths, adding texture and detail. He might use broad strokes for larger shadowed areas and fine lines for intricate details. By varying pressure on the pen, he achieves a dynamic range of tones, from soft, light washes to rich, dark shadows.
Throughout this phase, Ian continuously steps back to assess the overall balance of the sketch. He adjusts tones where necessary, ensuring that the composition remains harmonious.
Step 5: Detail
The final touch for Ian Fennelly’s sketches is about personalisation—adding those small, unique details that make his artwork distinctly his own. Ian meticulously observes and incorporates the specific architectural designs of buildings, capturing their unique characteristics and historical significance. He pays attention to the textures and patterns in the brickwork, the intricate details of the windows, and the distinctive shapes of rooftops.
Ian also brings his sketches to life by illustrating movement, for example – the way leaves rustle in the wind, adding a sense of atmosphere. He captures the subtle variations in the foliage, using delicate brush strokes to convey the natural play of light and shadow among the leaves.
This step is crucial as it encapsulates Ian’s perspective and storytelling. By adding these personalised touches, Ian not only enhances the visual appeal of his sketches but also imprints his unique artistic voice on each piece. These final details transform a simple sketch into a vivid narrative, inviting viewers to experience the world through Ian Fennelly’s eyes.
New to Urban Sketching?
Try our Beginner’s Course and learn with step-by-step guidance from Ian Fennelly:- More Blog Posts -
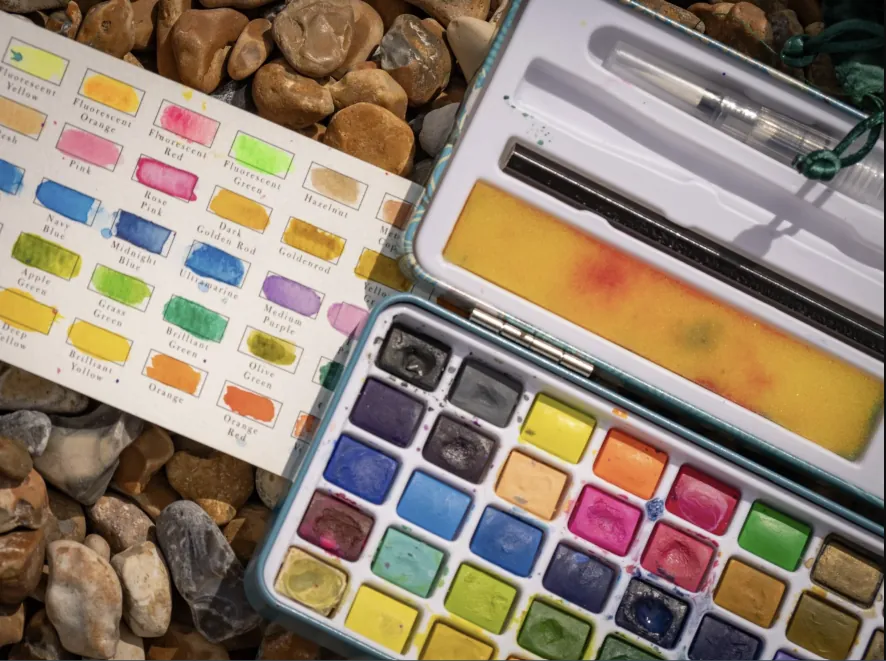
What’s in Our Students’ Bags: Sketching Kit Tips from the PLUS Community
Makeup rolls, folding stools, bulldog clips and even a collapsible dog bowl. Here are the paper, bags, pens and seating tips our students swear by, in their own words.
Read more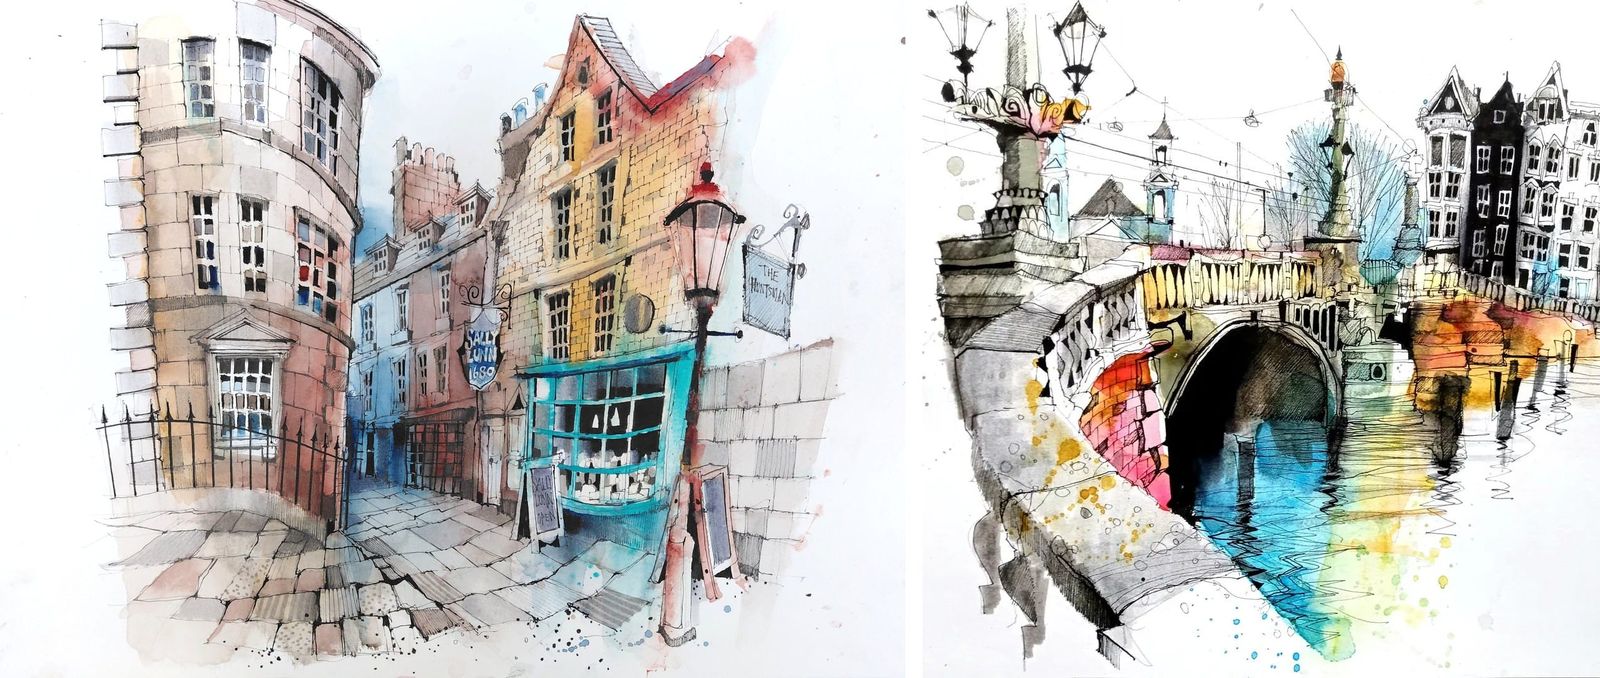
Change the Colour, Change the Story
Ian’s 4 reasons for every colour he picks, and how they played out in six very different places.
Read more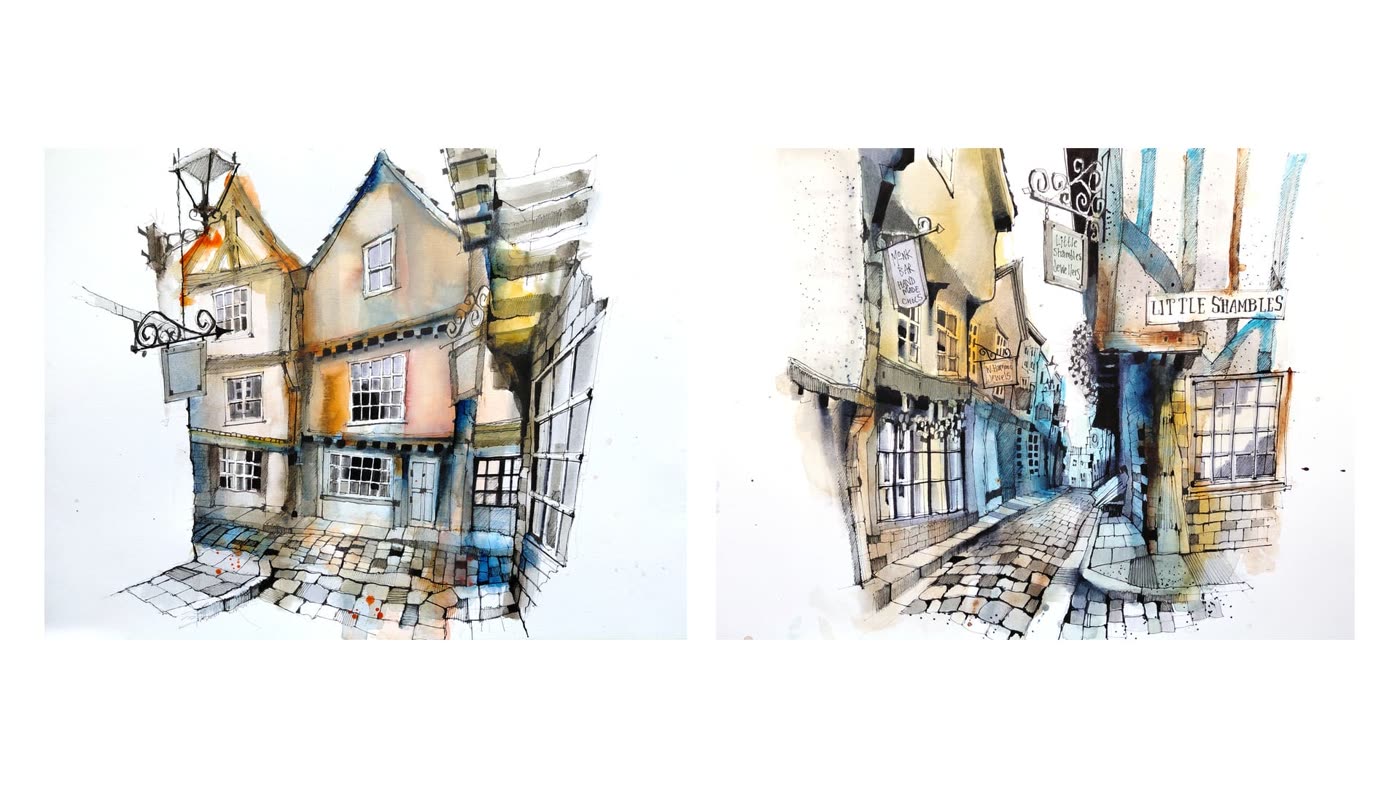
Ian’s Map of York: How to Find Five Sketches in One Small Patch
Ian found all five York workshops a few minutes’ walk apart. The trick wasn’t finding new places. It was standing somewhere new.
Read more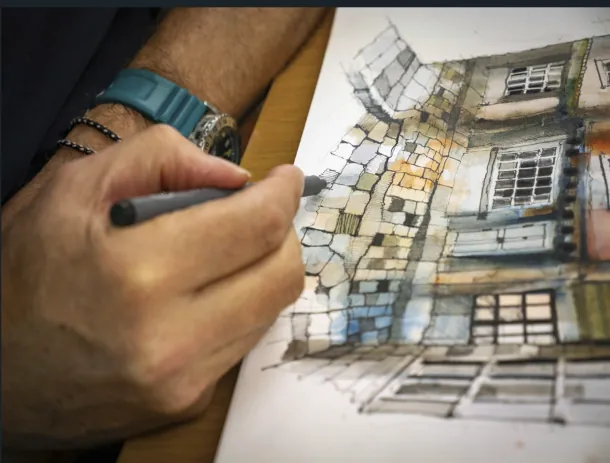
Why Hatching Goes On Top of the Paint
You don’t have to plan for texture at the start of a sketch. Ian puts his hatching on last, over the paint, and it does three jobs at once.
Read more